✖

✖

✖

✖

We provide a 24-month warranty on all of our products.

We take immense pride in our products and know you're going to love them as much as we do. If you're not 10/10 obsessed, let us know within 30 days for our 100% money back guarantee.

 ✕
✕
Check out with Sezzle and split your entire order into 4 interest-free payments over 6 weeks.
On all orders $90USD+ we offer free 2-7 business day standard shipping in the US + CA and 11-20 business day shipping in the UK.
Unfortunately we are unable to make deliveries to PO boxes, APO/FPO, or US military bases outside the US.

 Taylor LED Compact Mirror
 Vera Vanity with 10x Lara Mirror
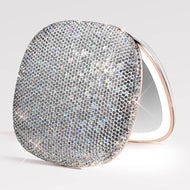
 Fancii x S.W.Smiley Bag Charm Mirror
 Abigail LED Travel Mirror
 Mini Taylor LED Compact Mirror | Italian Citrus
 Mila 2 Luxe LED Compact Mirror
 Abigail 10x Travel Mirror
 Taylor LED Compact Mirror | Cheetah Chic
 Nyla Rechargeable Sonic Body Scrubber
 Mini Taylor LED Compact Mirror | Happy Flowers
 Mini Taylor LED Compact Mirror | Vibrant Florals
 Mini Taylor LED Compact Mirror
 Taylor LED Compact Mirror | Cosmic Leopard
 Sadie Double Sided Travel Mirror
 Ultimate Mirror Bundle
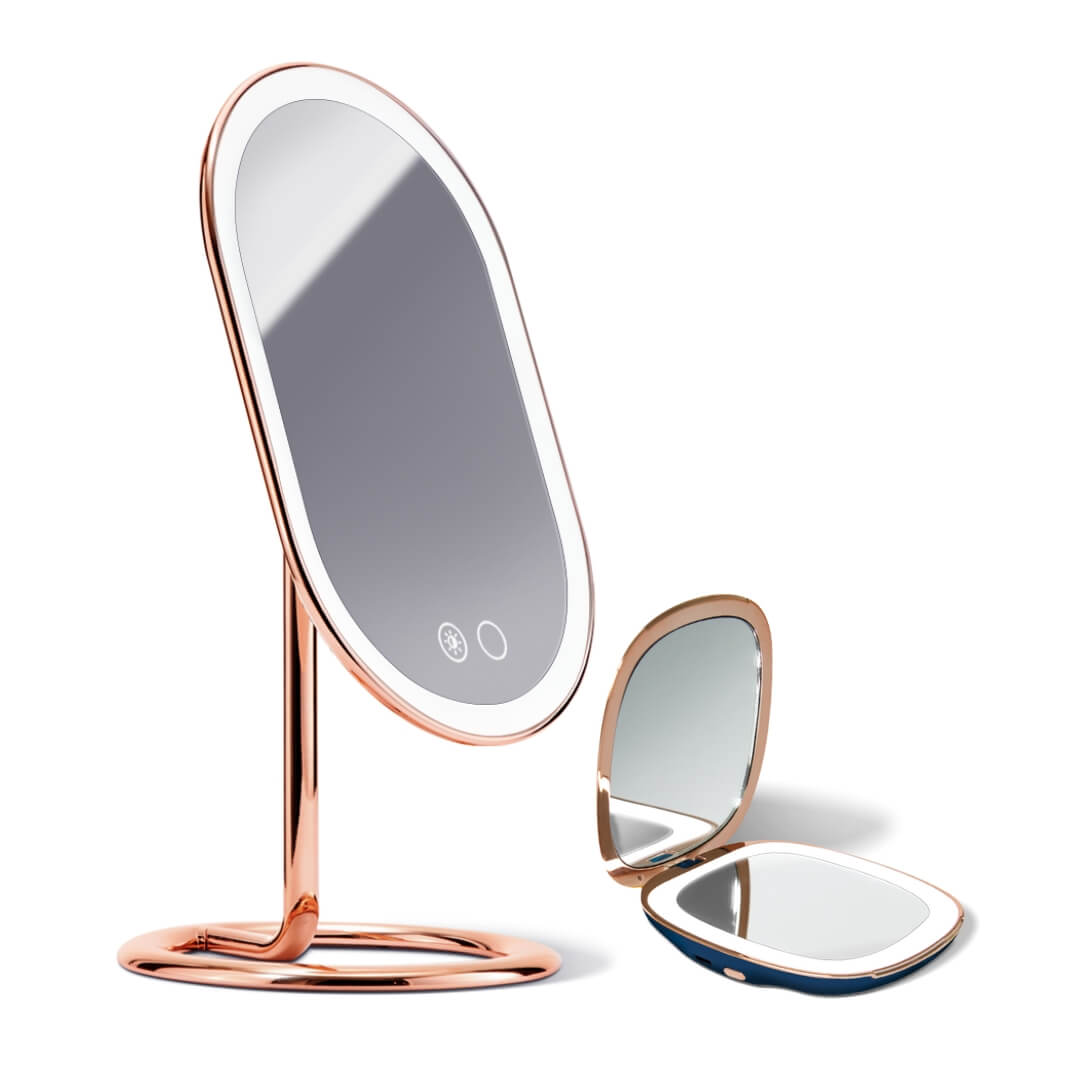
 Tru-Glow Lighted Mirrors Duo
 Clara Microdermabrasion Device
 Mila 2 LED Compact Mirror
 Mix and Match Set
 Madison Makeup Case
 Vera Lighted Vanity Mirror
 Lana 10x Magnifying Mirror
 Juni 2 Lighted Car Visor Mirror
 Mini Taylor LED Compact Mirror | Mediterranean Coast
 Mini Taylor LED Compact Mirror | Cheetah Chic
 Mini Taylor LED Compact Mirror | Cosmic Leopard
 Taylor LED Compact Mirror | Blush Zebra
 Mini Taylor LED Compact Mirror | Blush Zebra
 Cami Lighted Handheld Mirror
 Tasha Heated Eyelash Curler
 2 Be Lit Mirror Duo
 Magnify & Glow Set
 Glowing Places Kit
 Remi Uplift Facial Massage Roller
 Macy Makeup Bag
 Tara 10x Magnifying Mirror
 Leather Pouch for Compact Mirror
 Charlotte Scalp Massager
 Lara 10x Magnifying Mirror for Vera
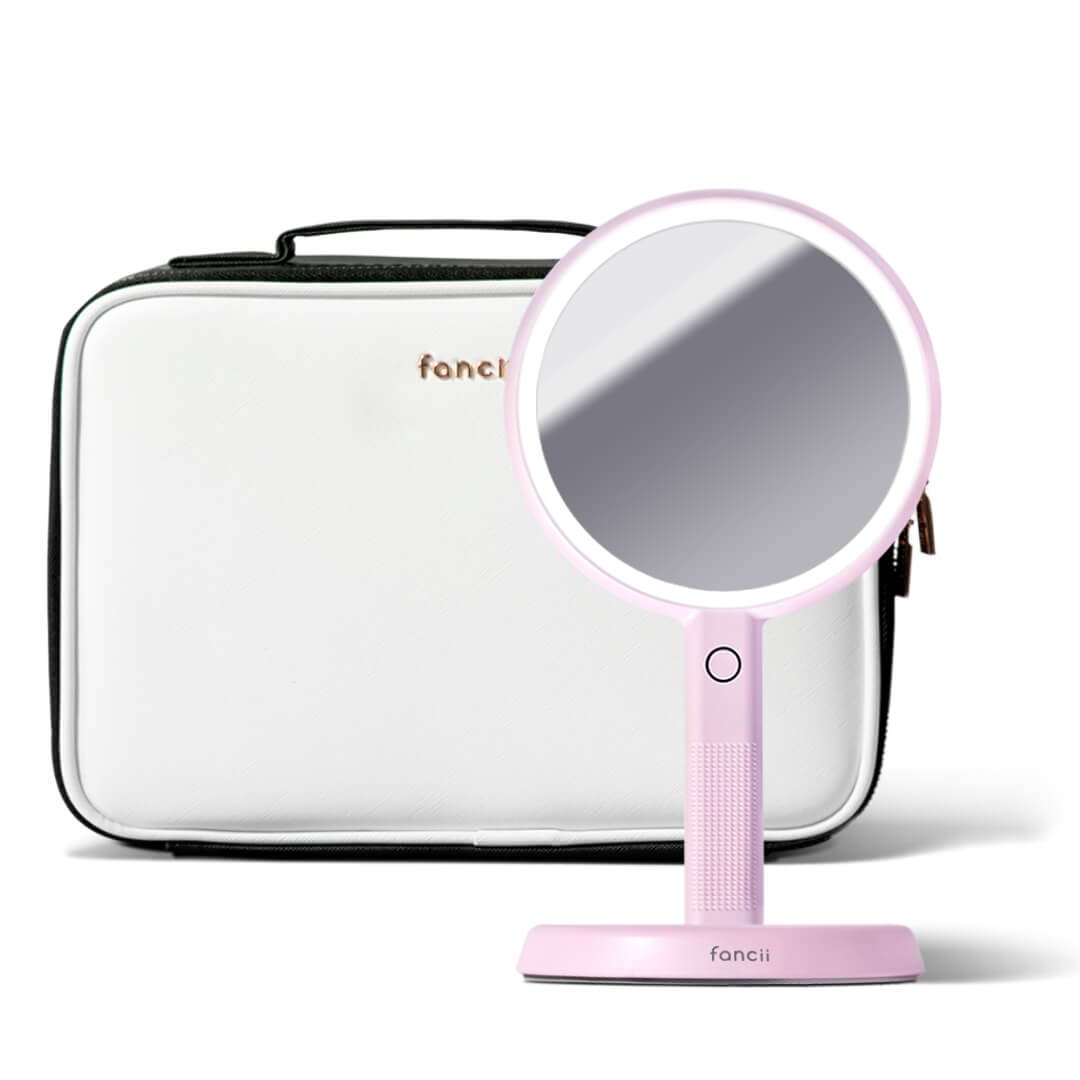
 Traveling Twosome
 Clara Essential Kit
![Gift Card [USD]](http://fancii.com/cdn/shop/products/fancii-gift-card_45x.gif?v=1762198925) Gift Card [USD]
Gift Card [USD]
![Gift Card [CAD]](http://fancii.com/cdn/shop/products/fancii-gift-card_8caf3995-16f8-44ab-90b2-3aa4b3050424_45x.gif?v=1762269131) Gift Card [CAD]
Gift Card [CAD]
![Gift Card [GBP]](http://fancii.com/cdn/shop/products/fancii-gift-card_bda6bc27-1ef2-4efb-bf94-e3f8882f7d97_45x.gif?v=1762269131) Gift Card [GBP]
Gift Card [GBP]
 Cali Electric Callus Remover
 Rivo Nano Ionic Facial Steamer
 Pore-Parazzi Set
 Zoe Reusable Makeup Removal Pads
 Large Leather Pouch for Taylor LED Compact Mirror
 Madeline Hollywood Vanity Mirror
 Glowcation Station
 Elle Satin Scrunchie
 Mira 2 Magnifying Mirror 10x

Let’s set the stage: you invest in a beautiful set of professional makeup brushes. You use them daily to conceal, contour, highlight, blush, and bronze. Mornings are busy and you’re often running out the door. You hardly have enough time to put your brushes away, let alone clean them. Life gets in the way, and as soon as you know it, it’s been a couple of weeks—or even months—since you’ve given your brushes a proper cleaning.
In the meantime, there's bacteria piling up on your makeup brushes that you are swiping on to your clean, exfoliated face on a daily basis. That bacteria can not only clog pores, and cause acne and skin irritation, but it can also potentially lead to more serious infections. On top of being bad for you, that grimy build-up is—of course—bad for the brushes as well.
You, like most women, have likely heard this before. So why are a majority of us neglecting to give our high-end cosmetic brushes the attention they deserve? The main reason: we simply just don’t have the time. We know it’s important, but we haven’t figured out a way to clean brushes that is simple and effective.
So, you want to break this habit and make cleaning your makeup brushes a part of your routine? Below is a step-by-step guide on how to properly clean your brushes using items you probably already have around your house.

STEP 1 | Mix all of the ingredients together in a glass jar. You may choose to add a teaspoon of olive oil to your mixture for brushes that you’ve used on products with a higher concentration of oil—such as lipsticks, gel eyeliner or brow pomade.

STEP 2 | Put your brushes into the mixture face down. Placing the brushes face up will cause water to seep into the brush handles. This will loosen the glue that is keeping the bristles intact, and your brushes will begin to shed.

STEP 3 | Let your brushes sit in the mixture for 20 minutes.

STEP 4 | One by one, rub your soapy brushes in a circular motion over your palm and then over your fingers. You may choose to use a brush cleaning mat instead of your hand, if you have one.

STEP 5 | Rinse the brush underwater with the handle pointing toward you and the bristles pointing down. You’ll know the brush is clean once the water runs clear.

STEP 6 | Squeeze the water out of the bristles gently. Use a paper towel or clean washcloth to squeeze out any excess moisture and reshape each brush.

STEP 7 | Lay the brushes to dry overnight on a flat surface with an edge. It is important to hang the bristles over the edge so that air can circulate around the brushes. This also helps your brushes preserve their shape. Do not dry flat on a towel.

To maintain clean brushes for longer, it is a good idea to sanitize your brushes between washes. Invest in a quick-drying, alcohol-free spray or cleanser. Products with alcohol can damage delicate brush hairs on high-end cosmetic brushes and are not recommended.
Using a spray or cleanser is particularly great to remove any excess product left on your brush and avoid mixing colours unintentionally. Keep a small bottle in your makeup bag and give your brushes a quick spritz after each use. Spray the cleanser onto a washcloth, cotton pad or paper towel, move the brush head in a circular motion on the solution and repeat until the brush is clean.
We spend so much time taking care of our skin, but cleaning our brushes is a step in our skincare routine that is often overlooked. You’ve invested your hard-earned dollars into a set of high-end cosmetic brushes, why not invest the time to take care of them? Trust us, your skin (and your brushes) will thank you for it.
Customer Comments
Thank you so ooo much
On March 08, 2023