✖

✖

✖

✖

We provide a 24-month warranty on all of our products.

We take immense pride in our products and know you're going to love them as much as we do. If you're not 10/10 obsessed, let us know within 30 days for our 100% money back guarantee.

 ✕
✕
Check out with Sezzle and split your entire order into 4 interest-free payments over 6 weeks.
On all orders $90USD+ we offer free 2-7 business day standard shipping in the US + CA and 11-20 business day shipping in the UK.
Unfortunately we are unable to make deliveries to PO boxes, APO/FPO, or US military bases outside the US.

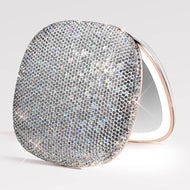
 Taylor LED Compact Mirror
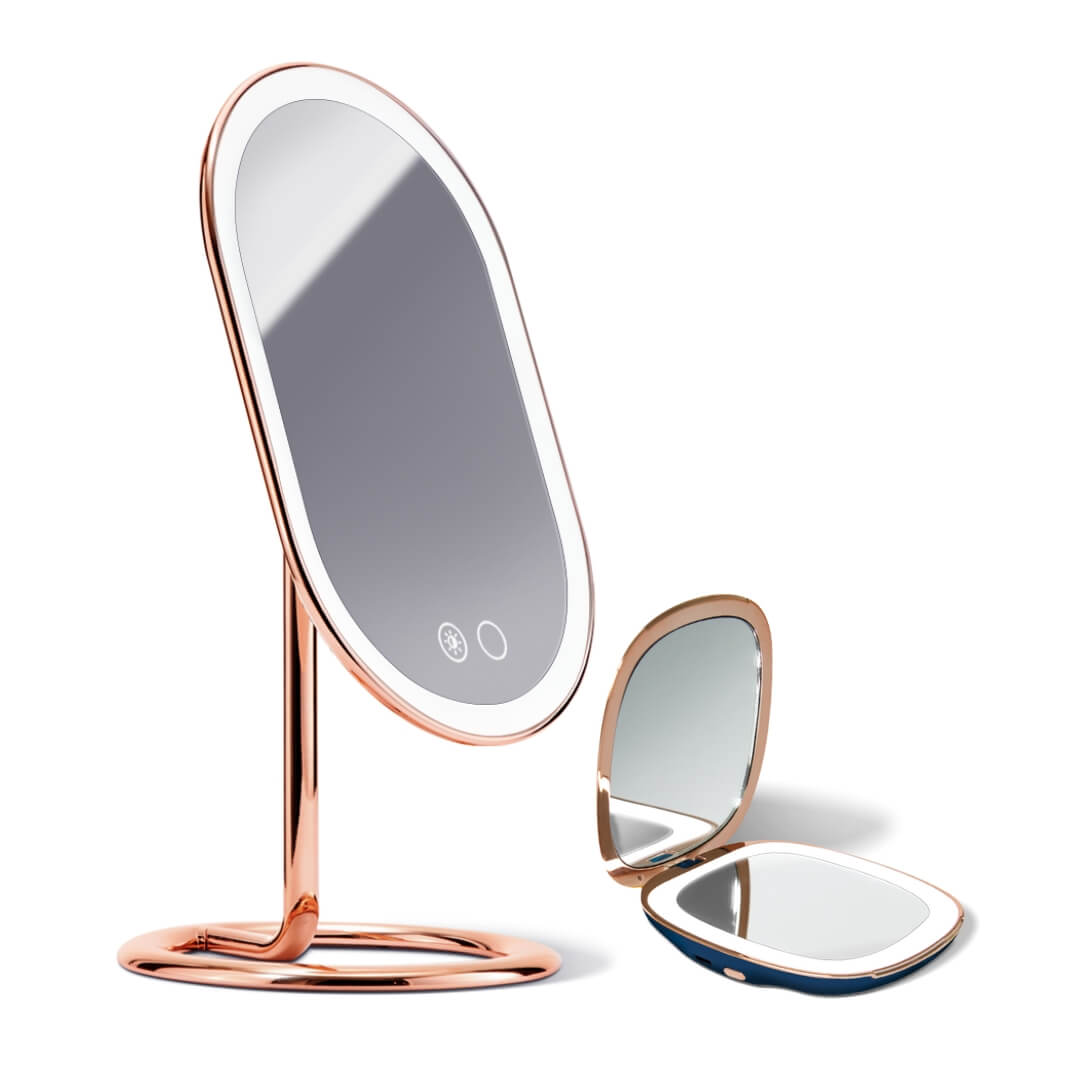
 Vera Vanity with 10x Lara Mirror
 Nyla Rechargeable Sonic Body Scrubber
 Abigail LED Travel Mirror
 Mila 2 Luxe LED Compact Mirror
 Taylor LED Compact Mirror | Cheetah Chic
 Taylor LED Compact Mirror | Cosmic Leopard
 Mini Taylor LED Compact Mirror
 Abigail 10x Travel Mirror
 Ultimate Mirror Bundle
 Tru-Glow Lighted Mirrors Duo
 Clara Microdermabrasion Device
 Mila 2 LED Compact Mirror
 Mix and Match Set
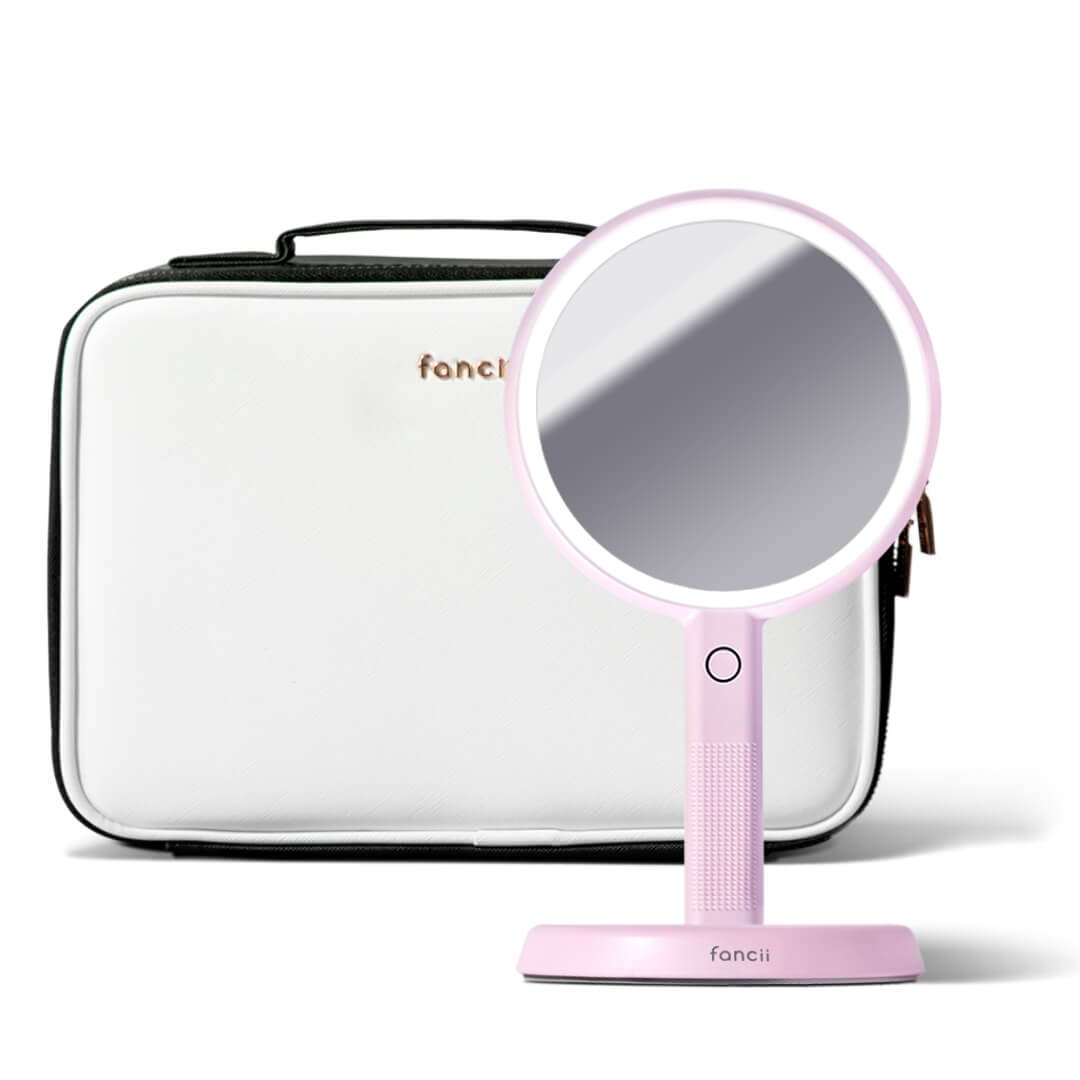
 Madison Makeup Case
 Mini Taylor LED Compact Mirror | Mediterranean Coast
 Vera Lighted Vanity Mirror
 Lana 10x Magnifying Mirror
 Juni 2 Lighted Car Visor Mirror
 Mini Taylor LED Compact Mirror | Cheetah Chic
 Mini Taylor LED Compact Mirror | Cosmic Leopard
 Taylor LED Compact Mirror | Blush Zebra
 Mini Taylor LED Compact Mirror | Blush Zebra
 Cami Lighted Handheld Mirror
 Mira 2 Magnifying Mirror 10x
 Tasha Heated Eyelash Curler
 2 Be Lit Mirror Duo
 Magnify & Glow Set
 Glowing Places Kit
 Remi Uplift Facial Massage Roller
 Macy Makeup Bag
 Tara 10x Magnifying Mirror
 Leather Pouch for Compact Mirror
 Charlotte Scalp Massager
 Lara 10x Magnifying Mirror for Vera
 Traveling Twosome
 Clara Essential Kit
![Gift Card [USD]](http://fancii.com/cdn/shop/products/fancii-gift-card_45x.gif?v=1762198925) Gift Card [USD]
Gift Card [USD]
![Gift Card [CAD]](http://fancii.com/cdn/shop/products/fancii-gift-card_8caf3995-16f8-44ab-90b2-3aa4b3050424_45x.gif?v=1762269131) Gift Card [CAD]
Gift Card [CAD]
![Gift Card [GBP]](http://fancii.com/cdn/shop/products/fancii-gift-card_bda6bc27-1ef2-4efb-bf94-e3f8882f7d97_45x.gif?v=1762269131) Gift Card [GBP]
Gift Card [GBP]
 Elle Satin Scrunchie
 Cali Electric Callus Remover
 Rivo Nano Ionic Facial Steamer
 Pore-Parazzi Set
 Zoe Reusable Makeup Removal Pads
 Mini Taylor LED Compact Mirror | Happy Flowers
 Mini Taylor LED Compact Mirror | Vibrant Florals
 Fancii x S.W.Smiley Bag Charm Mirror
 Sadie Double Sided Travel Mirror
 Mini Taylor LED Compact Mirror | Italian Citrus
 Madeline Hollywood Vanity Mirror
 Glowcation Station
 Farah Makeup Remover Set


Want Kardashian cheekbones? The jawline of a model? A chiseled nose without the surgery? Then say hello to contouring. By cleverly using shadow and light, contouring allows you to create the face structure you’ve always wanted.
Contouring 101 | Contouring gives the illusion of structure by strategically thinking about the way the light hits our face. Shadow is cast where we have deep-set features, such as cheekbones, whereas the light highlights areas that are more prominent, such as well-rested under eyes. If these features don’t come naturally to you, you can use the principles of contouring to create them. It’s all about being smart with the pigments we use and where we use them.
Map Out Your Contour | Hold up girl…put the contour down, class is still in session! When it comes to contouring there isn’t a one technique fits all. We’ve all been blessed with different face shapes, so what might work for a friend might not work for you. Fear not… Here’s a handy guide to get you started.

This is key for carving out those sharp lines and blending out those newfound cheekbones of yours. With brushes for both powder and cream contour, shaped to work with the natural grooves of your face, find a brush set that offers precision, and effortless blending for a seamless application.
Contour is about precision. You need to be able to see what you’re working with - which is why a good quality mirror is important! We love the Aura Vanity Mirror which features daylight LEDs, as well as detachable 15x mirror, so you can make sure you don’t go too heavy on the contour. With standard bathroom lighting, we tend to over-contour due to the fluorescent lighting and rosy-hue lights provide the opposite results. Bottom line - invest in natural daylight LED mirror so you can see accurate and true-to-life color-correct details. 
Beginner Kit:
Instead of focussing too much on new products when you’re starting out, it’s best to get familiar with the techniques. Start with a classic matte bronzer on a tapered face brush and slowly build up color in the areas you want to create a shadow.Intermediate Kit:
Once you’ve perfected your own contour map it’s time to add more dimension. If you’re looking to create a deeper shadow effect swap your bronzer for a contour powder. Cool-toned contour powders have a hint of grey in them to mimic the color of a shadow - giving you model-esque structure. On top of that think about the features you want to bring forward and add a brightening highlighting color to these areas.Advanced Kit:
Looking to intensify your look? It’s time to bring creams into the picture. Create a long-wearing contour that’s picture-perfect with a combo of creams and powders. Start with creams on an unset foundation base, using a brush to buff into the skin without losing the definition. Set with complementary powders to intensify the look further for a catwalk-ready finish.
The NYX sculpt and highlight face duo features slim wands for an easy cream application. Try setting your undereye highlight with a brightening powder to get rid of all signs of fatigue. Colourpop’s no filter loose setting powder comes in 3 colors to suit all complexions.
Master’s Kit:
If you’re comfortable with cream contouring then it’s time to ascend to makeup mastery level. Select a cream contour and highlight that suit your individual preferences.
Whilst cool-toned contours are normally the go-to, there are many artists who prefer a warmer color - you do you girl!
Love a bright as light undereye? Go for it! Prefer something more subdued? The world is your oyster.
Colourpop’s range of no filter concealers feature a shade for everyone and you can even sort them by complexion and undertone!
When it comes to setting your highlight, it’s all about baking. Dab a damp beauty sponge into powder and press onto your face to create a finish that is sure to stay put all day long.
This flawless undereye technique can even be used to sharpen up cheekbone contour. Leave the powder to set for 5-10 mins before sweeping off the excess.
We love RCMA’s no color powder - a cult favorite with makeup artists alike.
---
Time to snatch those cheekbones, carve out that jaw and say goodbye to under-eye circles. With contouring it’s easy to see the power of makeup - get creative and chisel out your dreams girl!